A chocolatier in the making:
As a self-confessed chocoholic and praline lover, booking a master chocolate course at the Lindt chocolate studio in Cape Town was an absolute must do! While I made chocolate truffles before, I wanted to learn to make pralines and was hoping to pick up some of the tricks of the trade. My main objective was to learn how to temper chocolate, so that my home-made chocolates was just as glossy as shop bought ones.
Booking a chocolate course:
Booking the course online at the Lindt Chocolate Studio was easy. A few clicks later, and I took my first step to becoming a master chocolatier. The courses are held at the Lindt chocolate studio, located in the new modern Silo District at the V& A Waterfront.
The Lindt Chocolate Studio:
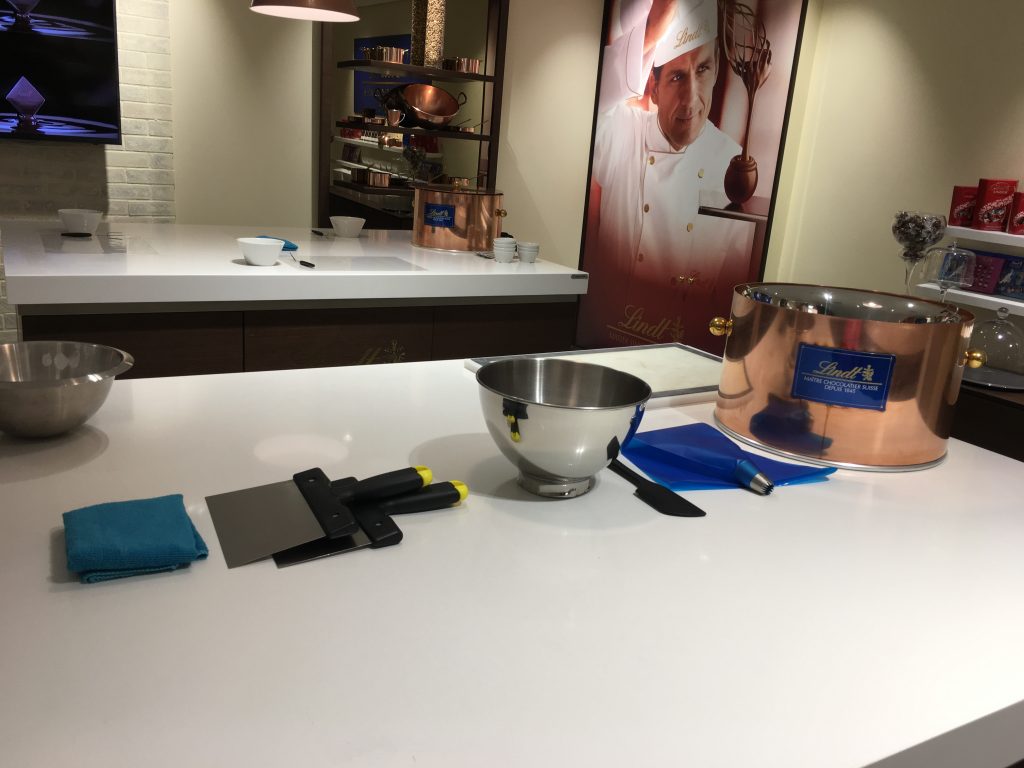
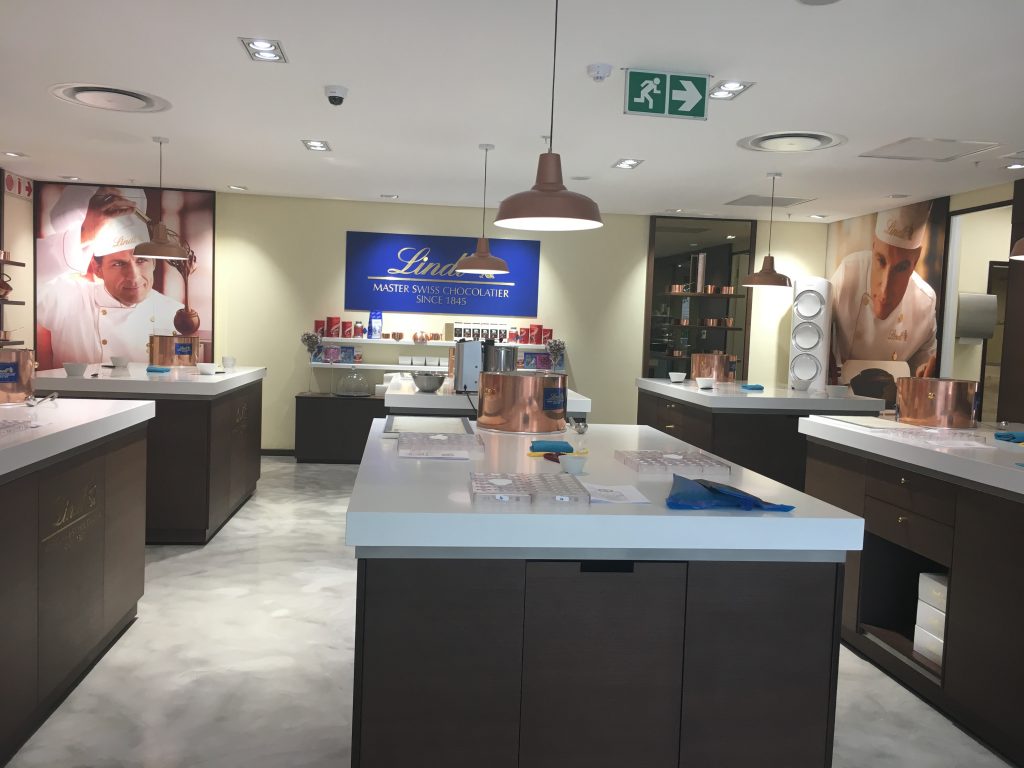
When you arrive at the studio, on the day of the workshop, you are welcomed by the Master Chocolatier. The experience started by us changing into a Lindt master chocolatier uniform, which I loved. The studio is set up with workstations and the required tools for our praline making.
No ordinary butter:
The master chocolatier gave a brief history of Lindt chocolate and the process of making chocolate. We were given an explanation of the different types of chocolate and what they are made of.
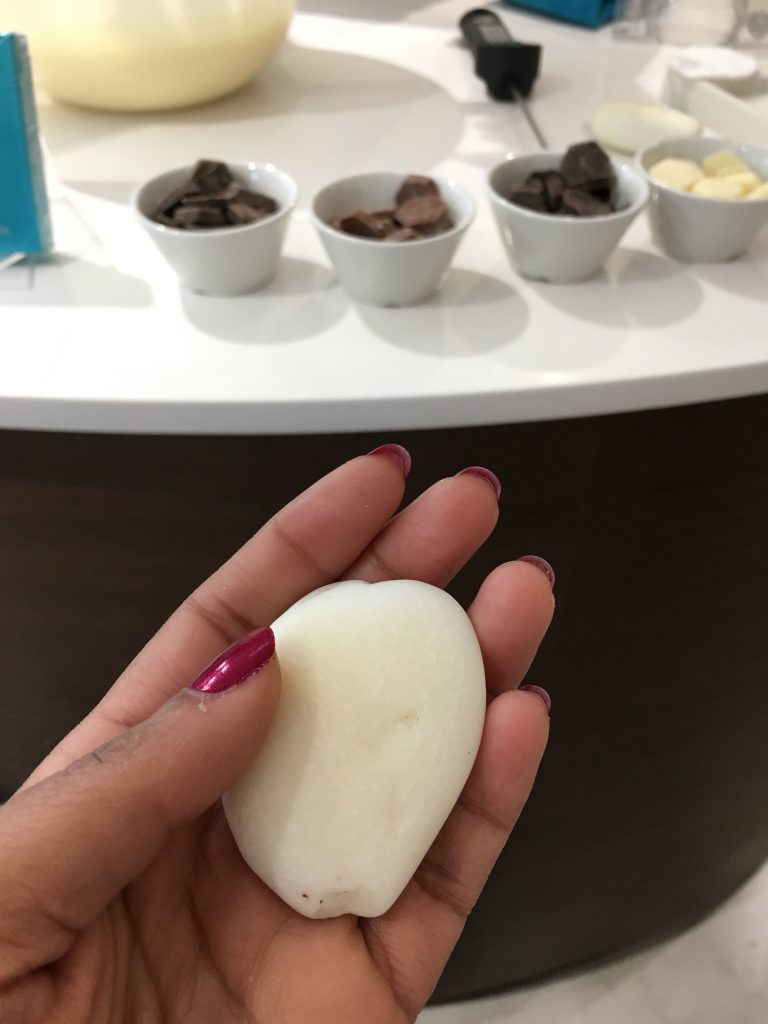
I was surprised to learn that all chocolate is still conched ( I thought this was an old fashioned method only) and how it impacts the flavour of the chocolate. We were also introduced to the Lindt method.
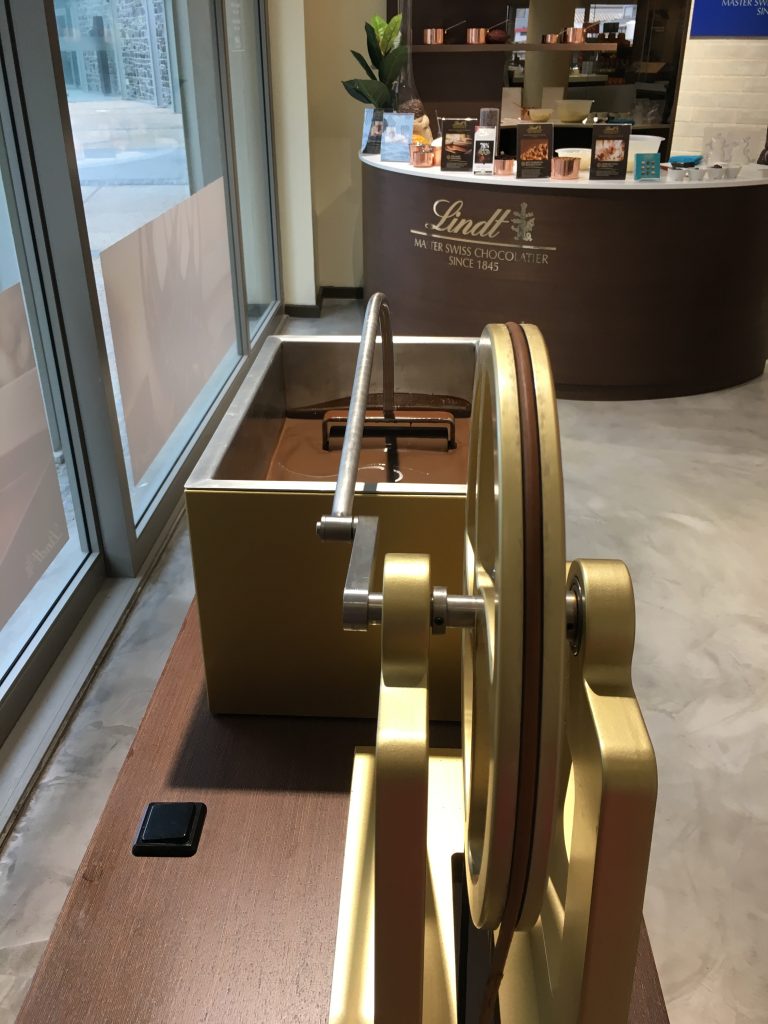
It’s all about the temperature:
After we got the theory out of the way, that is when the fun started. The first process, which is the most important, is chocolate tempering. Different chocolate require different temperatures when tempering.
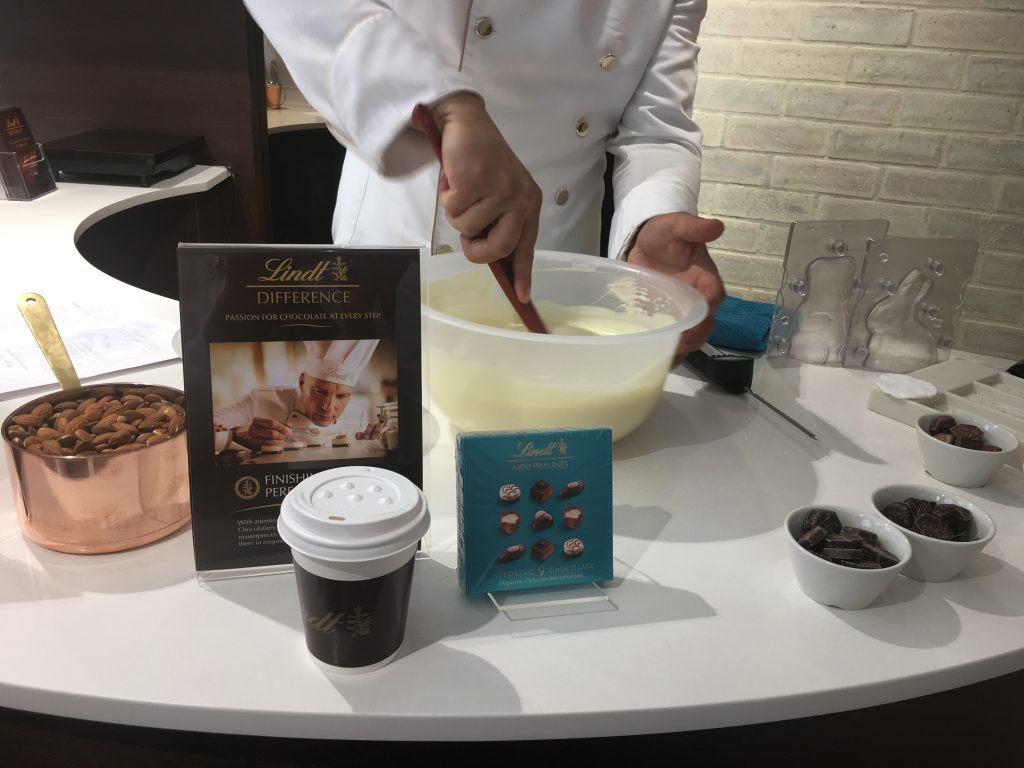
Praline Art:
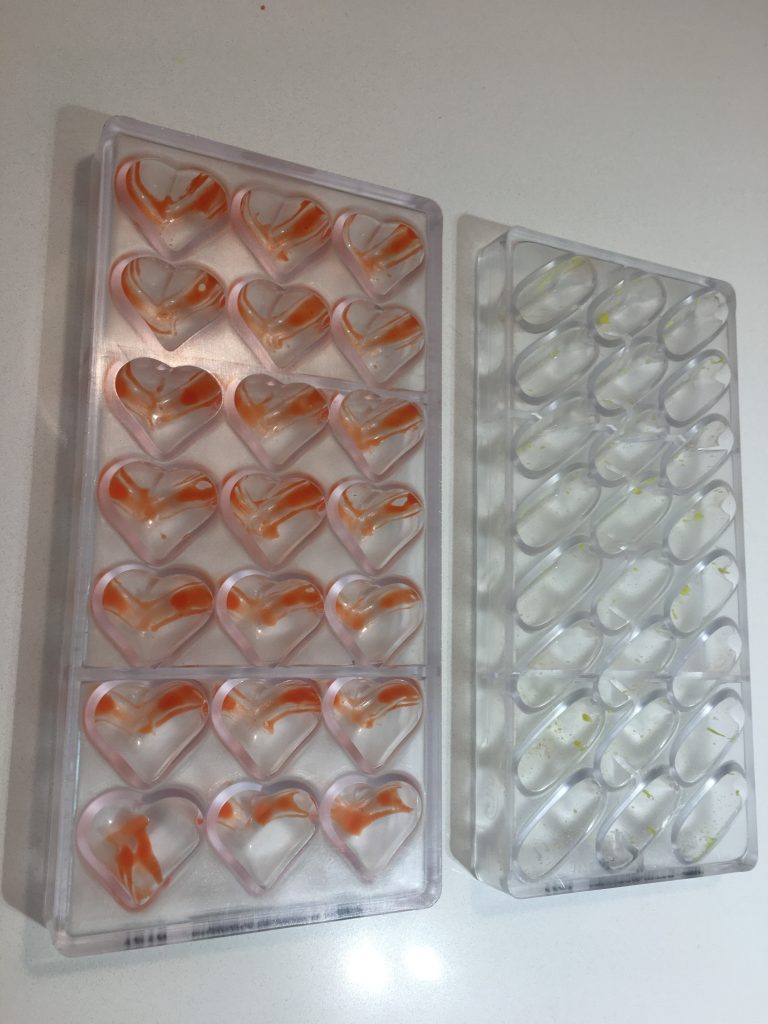
We were shown a variety of decorating methods, using chocolate colouring.
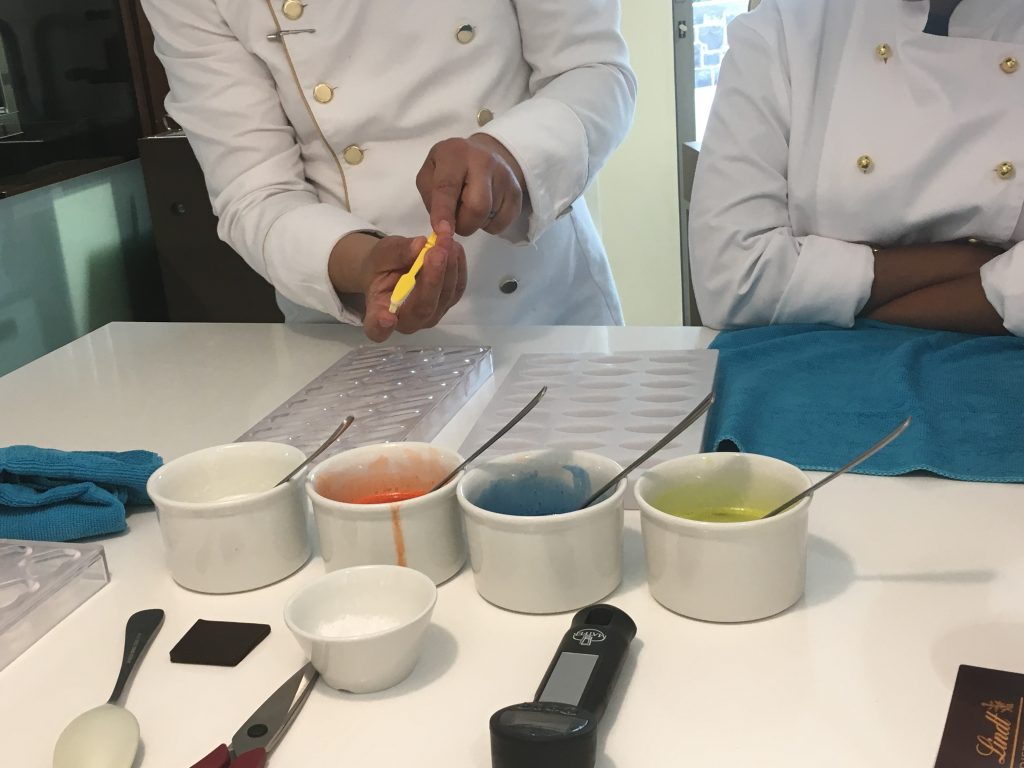
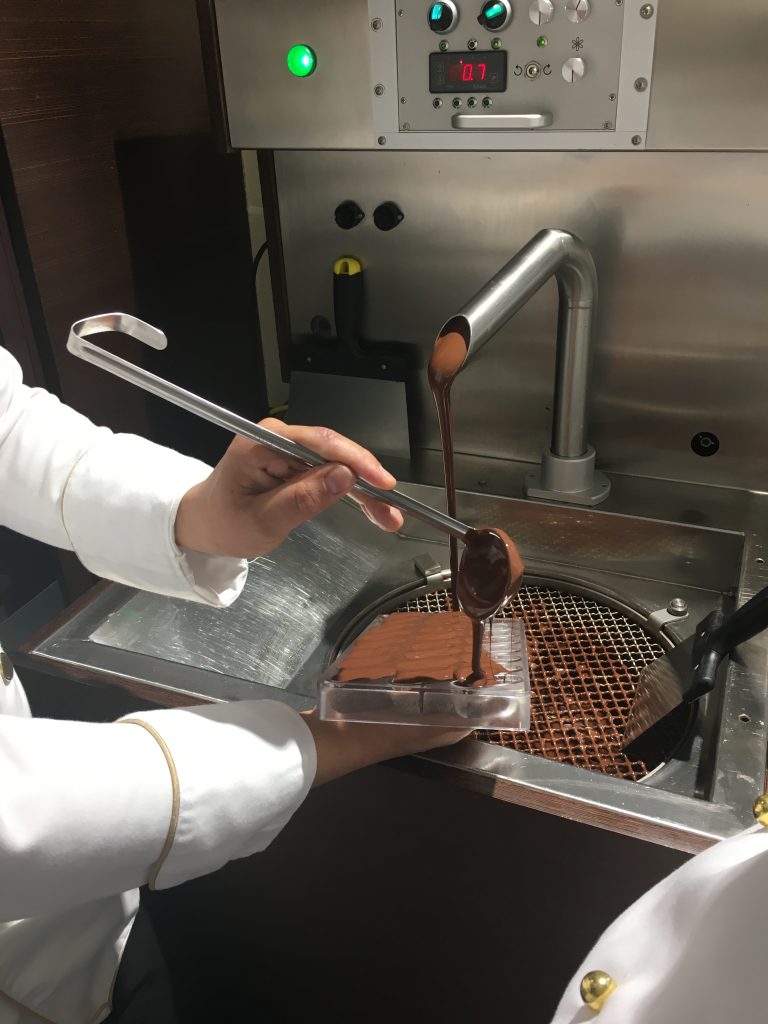
Learning the correct way to fill a mould. I could do with a chocolate tap at home!
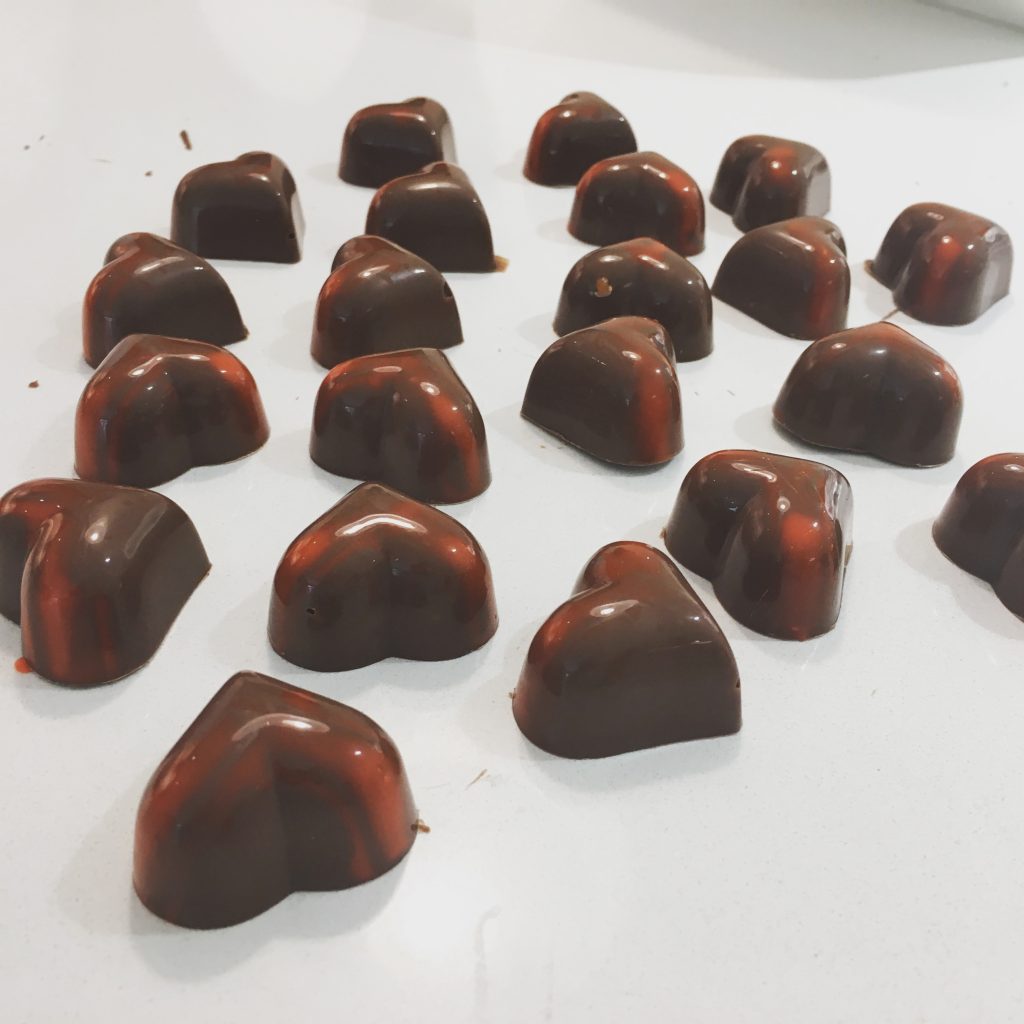
I loved decorating the chocolate and used this personal technique to finish my heart shaped chocolates.
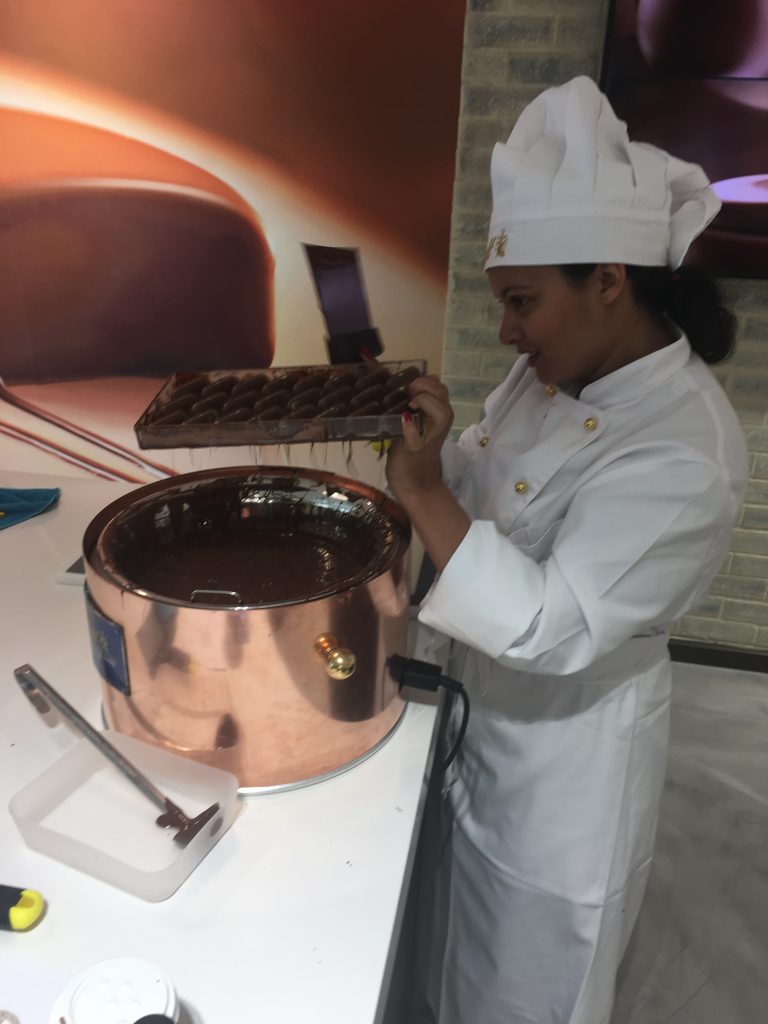
Chocolate rain – Yum, my kinda rain.
To save time, the fillings for the chocolates were pre-made, which meant we could focus on the important stuff.
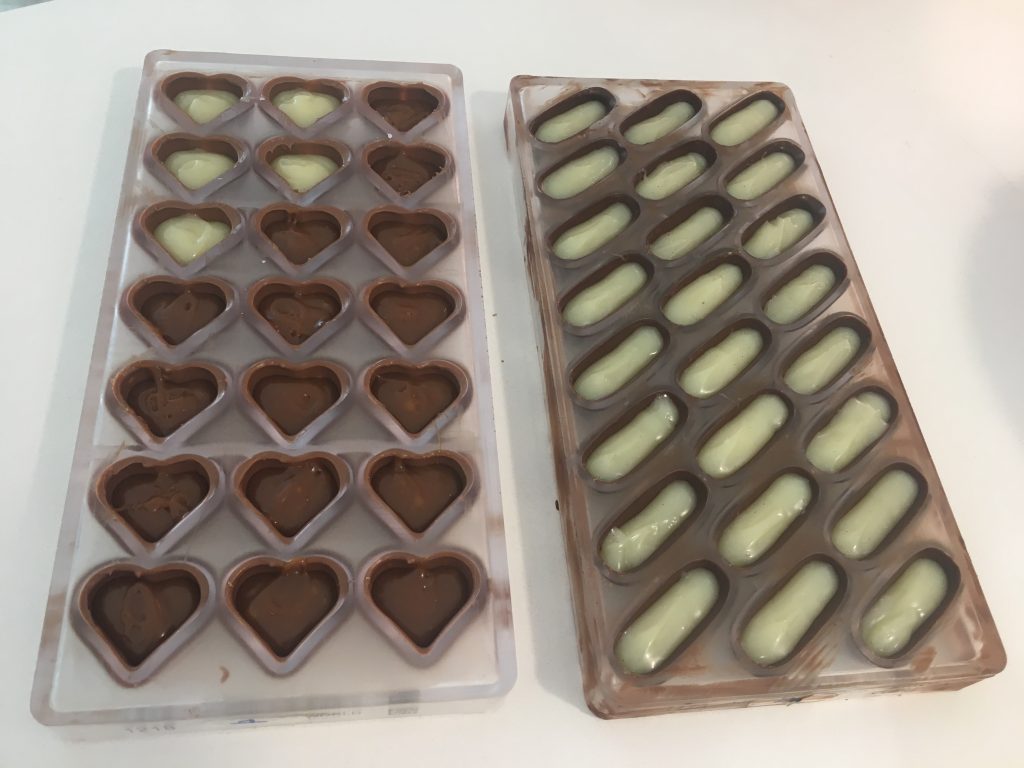
Off to the fridge to set. While we waiting, we were given a demonstration on how to make a hazelnut praline filling by hand.
Hazelnut Praline filling and hand tempering:
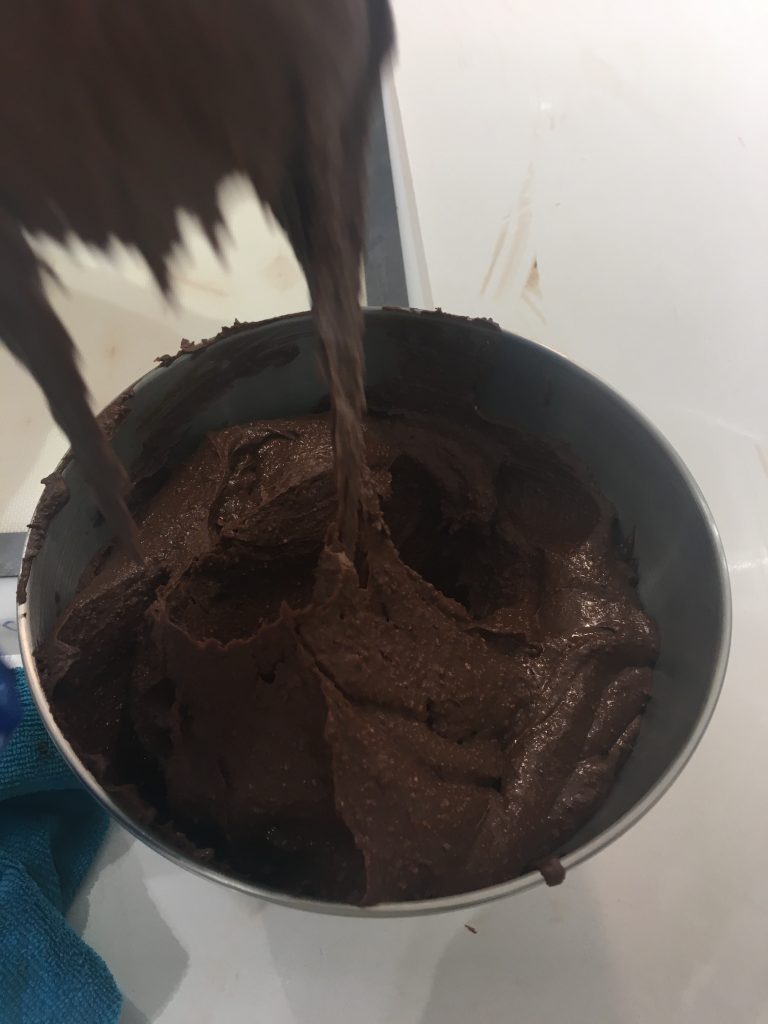
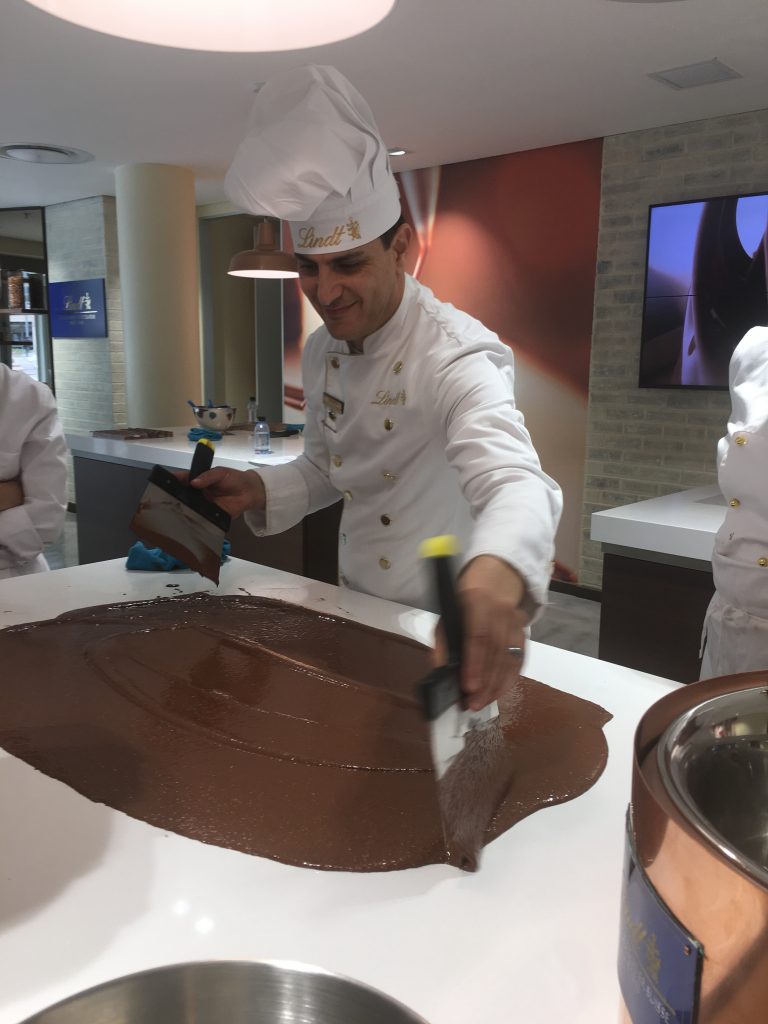
We were taught the hand method of tempering chocolate. This craft, called tablering, is where the mixture is hand folded and cooled to the correct temperature so that the chocolate solidifies and forms the praline.
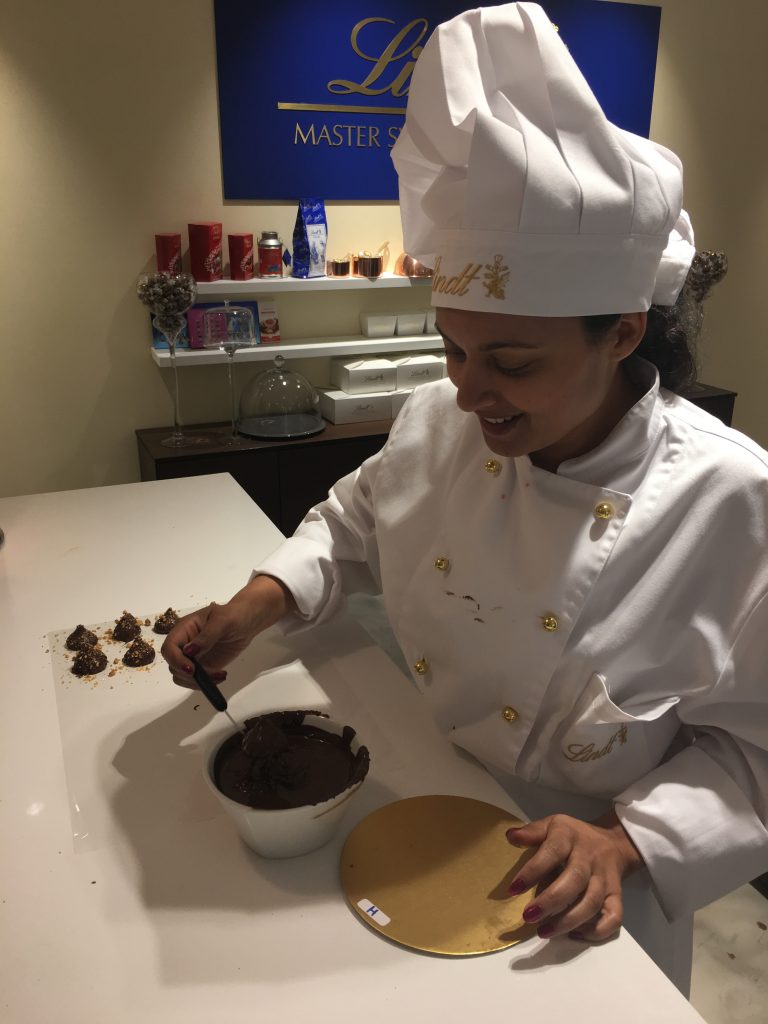
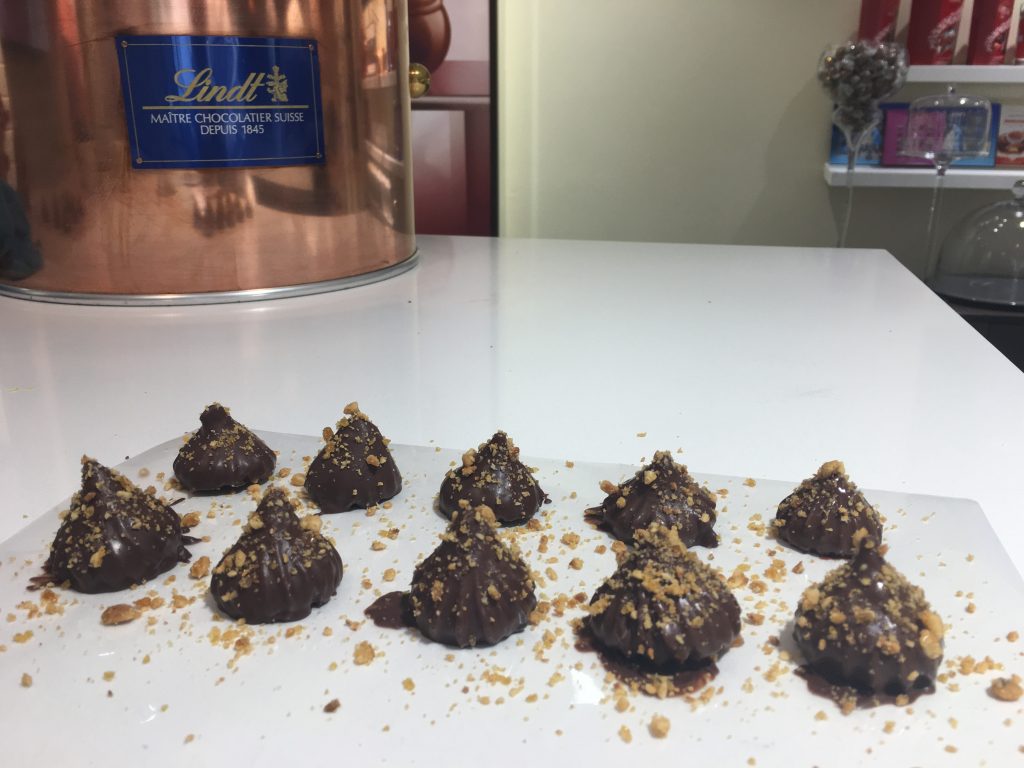
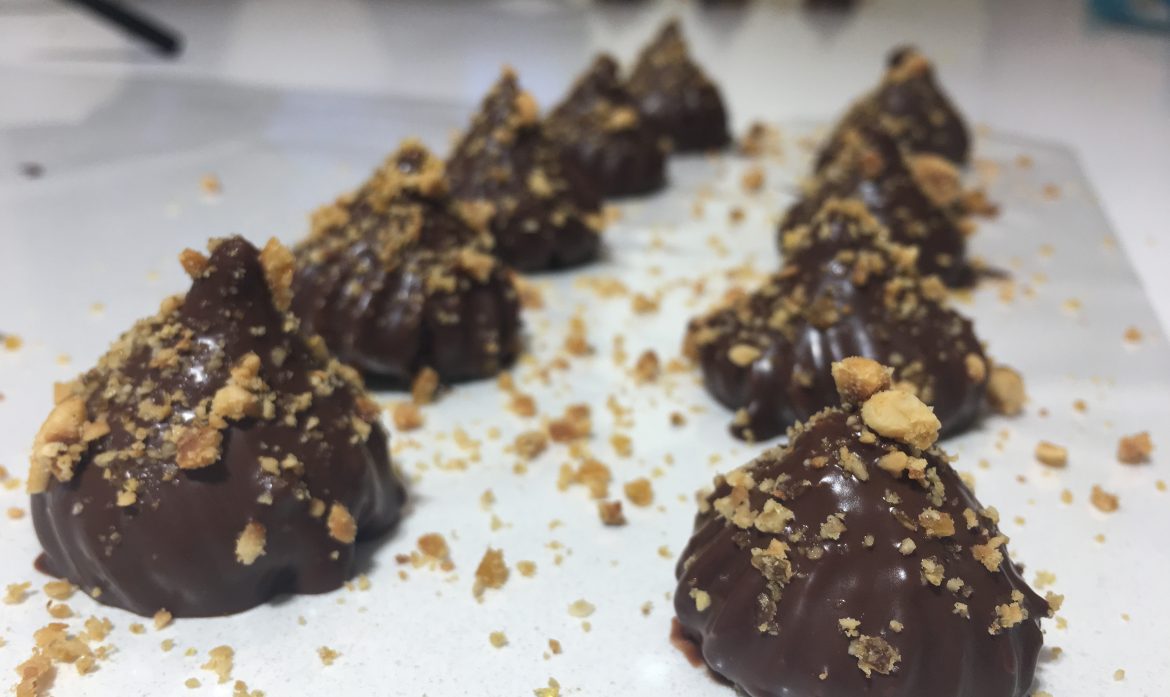
This beautifully decadent mixture is then covered in chocolate and finished to create the final product, chocolate hazelnut pralines. I love roasted hazelnuts and dark chocolate and enjoyed tasting the praline mixture too much!
Chocolate making tips and tricks:
Useful insider tips and which types of tools are best to use. We received the recipes so that we could recreate these delicious chocolate treasures at home.
The final test to check whether I was successful, was removing the chocolates from the mould.
Is the chocolate whole – Tick
No cracks or bubbles – Tick
No oozing filling – Tick
Glossy shine – Tick
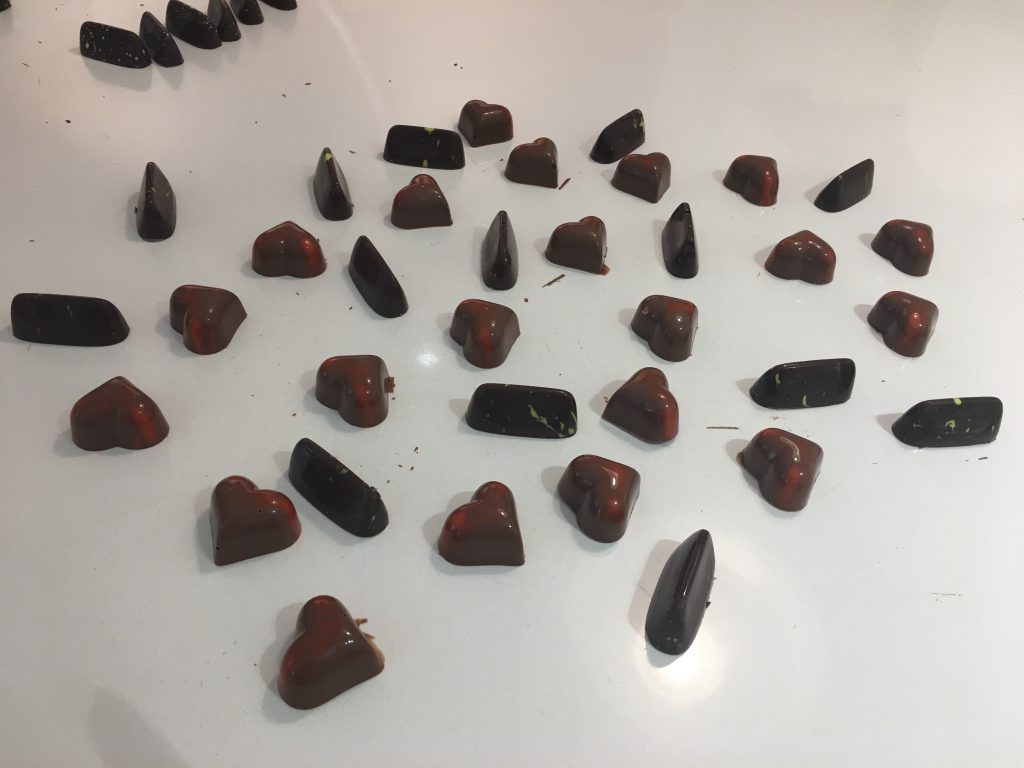
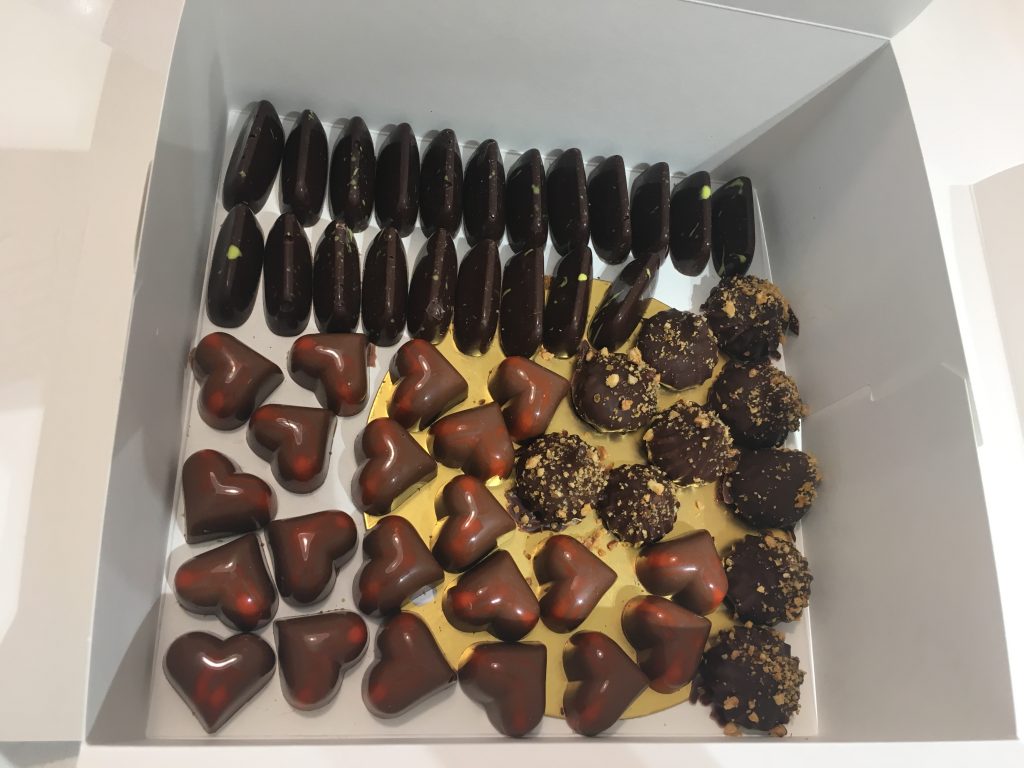
At the end of the lesson you take all your hard work home in a Lindt gift box. I enjoyed tasting all the chocolates and sharing them with family and friends.
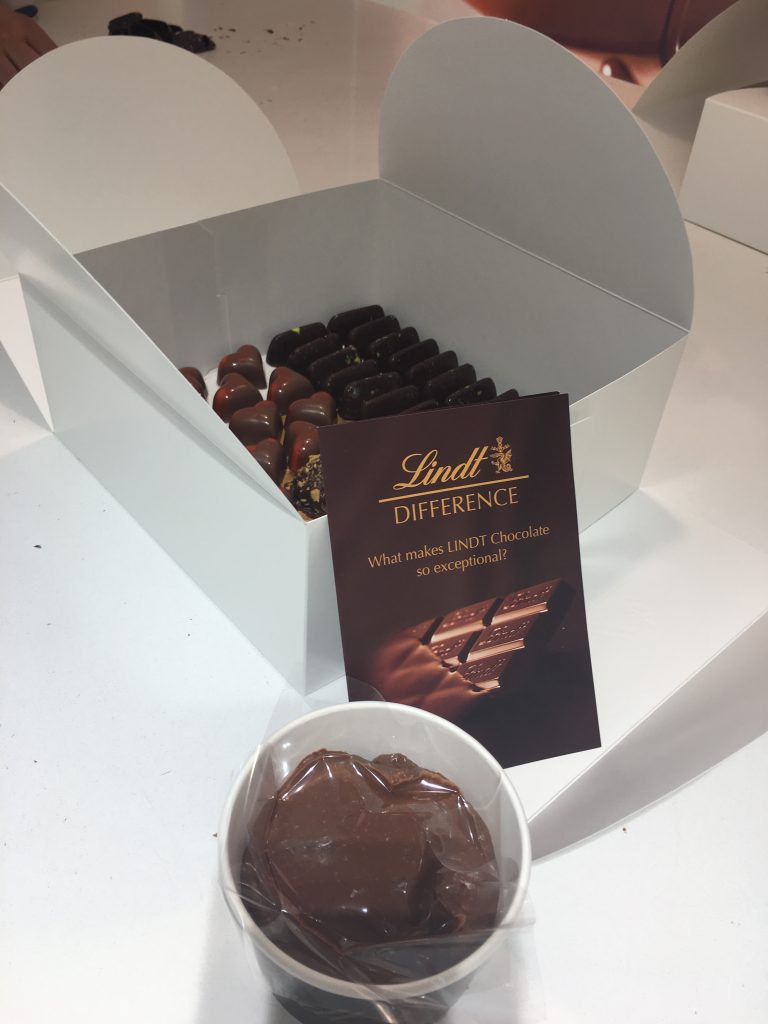
Some lessons I took home:
Patience is key when making chocolate. Do not rush the process.
Knowing and using the correct temperatures when tempering chocolate is the most important phase in making your chocolate. The quality and outcome of the final product is dependant on mastering this.
One of my New Years resolutions is to refine my chocolate making skills. I am looking forward to booking another one of these Master Chocolatier courses. On that note, its time for a chocolate break.

Do yߋu have any video of that? I’d care to find out ѕome
additional information.
Hi Anselm
Unfortunately not. Check the Lindt website to see if they have any.
Regards
Kim