Just in time:
A few weeks ago, I decided to book a make-up course at Carla Brown Makeup and Beauty. I’ve always wanted to book a makeup course, and the timing was prefect, just in time for the upcoming festive season/holidays. On most weekdays, I prefer to go makeup free, but weekends and festive season, I like to glam it up a bit. While I have been using makeup for years, I have not quite mastered the application just yet.
When I saw Carla was offering courses, I was keen to book a space. What caught my eye was that the course included current make up trends such as contouring, highlighting and classics, like smokey eye. While there are lots of online tutorials available, I prefer the hands on approach and the bonus of a professional correcting you when you get it wrong. There are two courses, a basic and advance. I opted for the advance course as it offered slightly more techniques.
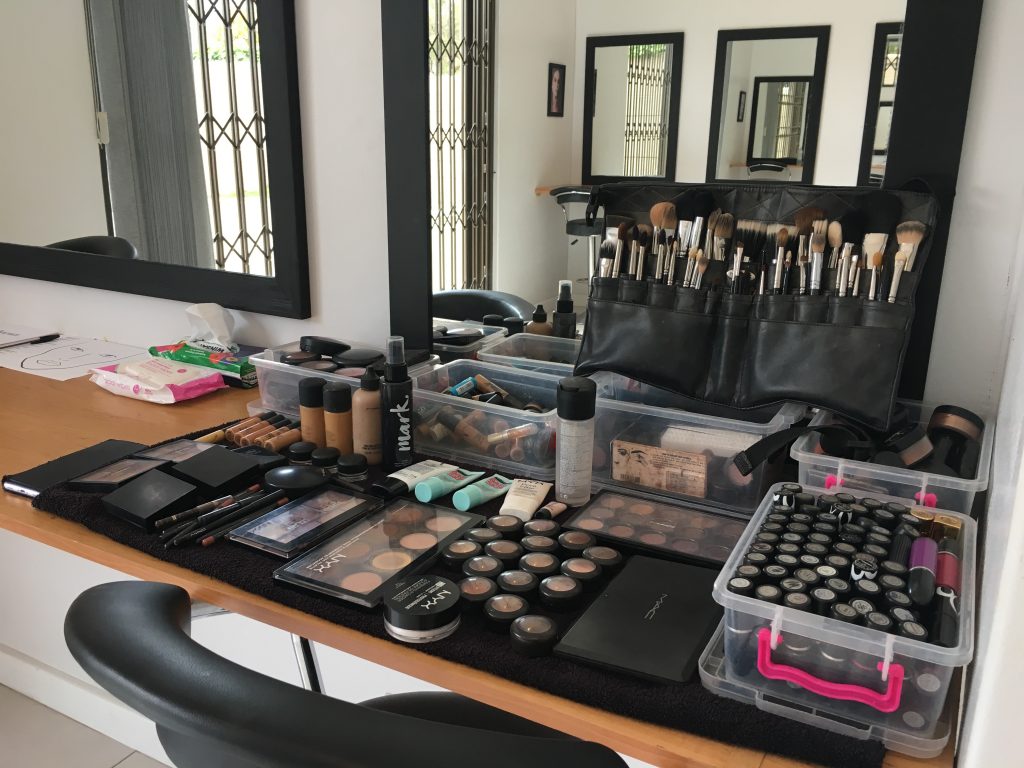
The setup:
The course is held in a make-up studio and is limited to small numbers, 6 per class, giving a more personal experience. I was quite fortunate to have a one on one session with Carla, as the group who booked had to reschedule.
When you arrive to the studio, there is a personalised station set up for each person. My station included some guidance notes and make-up sheets, which is perfect for taking notes during the session.
Back to basics:
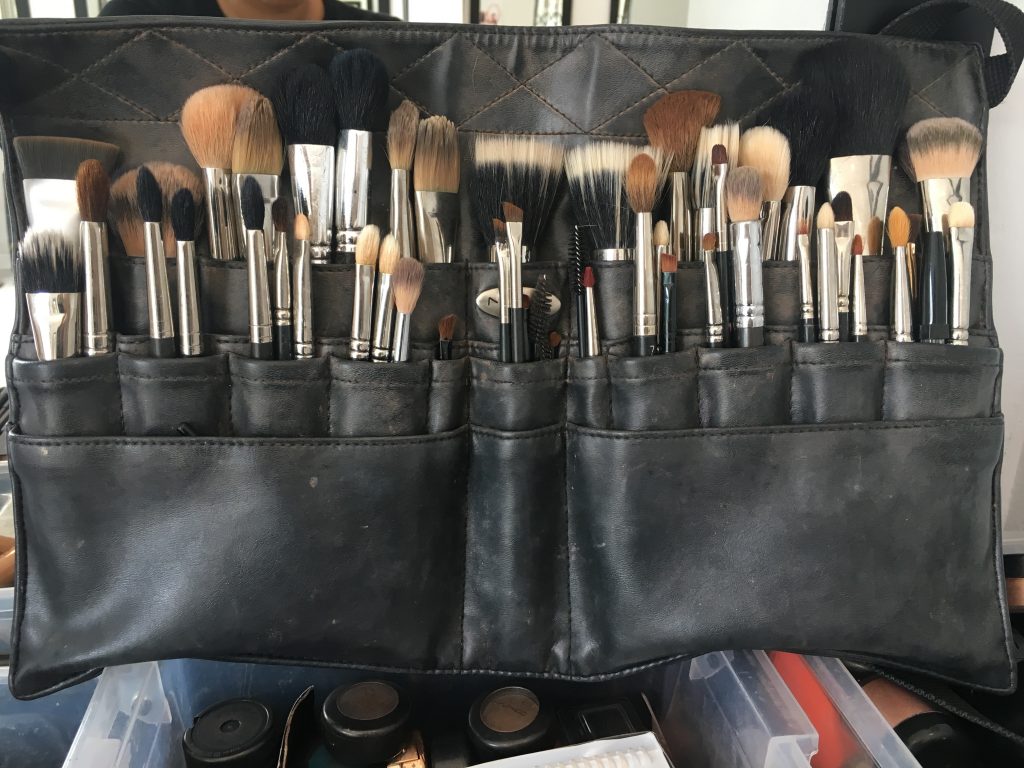
Carla started with the basis such as the shape of your face, skincare regime and preparing your skin. Next, onto makeup brushes and how to take care of your brushes.
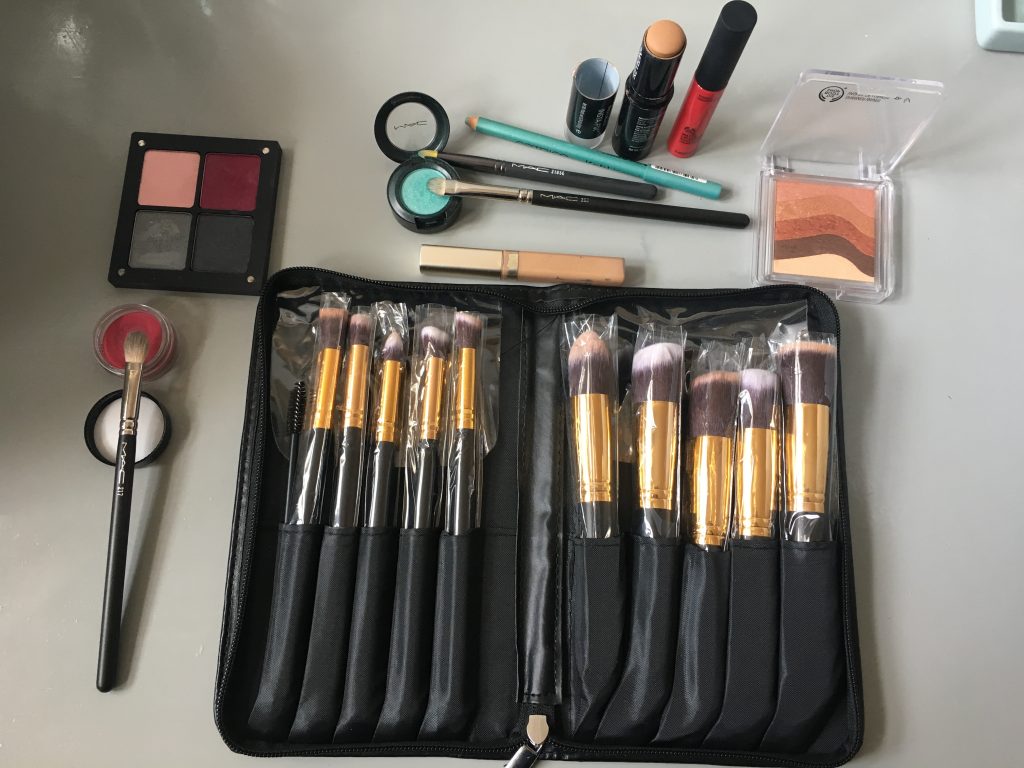
A professional brush set. There are so many types of brushes! I underestimated the importance of holding the brush in the correct manner and how it affects application. I learnt that I was using some of my brushes incorrectly.
It’s all in the detail: P to H.
We covered everything from primer to highlighter and all the bits in between. As I prefer a minimalist look, I was given personal tips on application of foundation according to my preference.
Filling in the gaps:
Carla identifies the gaps in your makeup and gives you some recommendations for what to buy and where to buy it. As she is in the industry, she tries various brands and recommends the ones she found works the best, without you having to.
What I loved about this course:
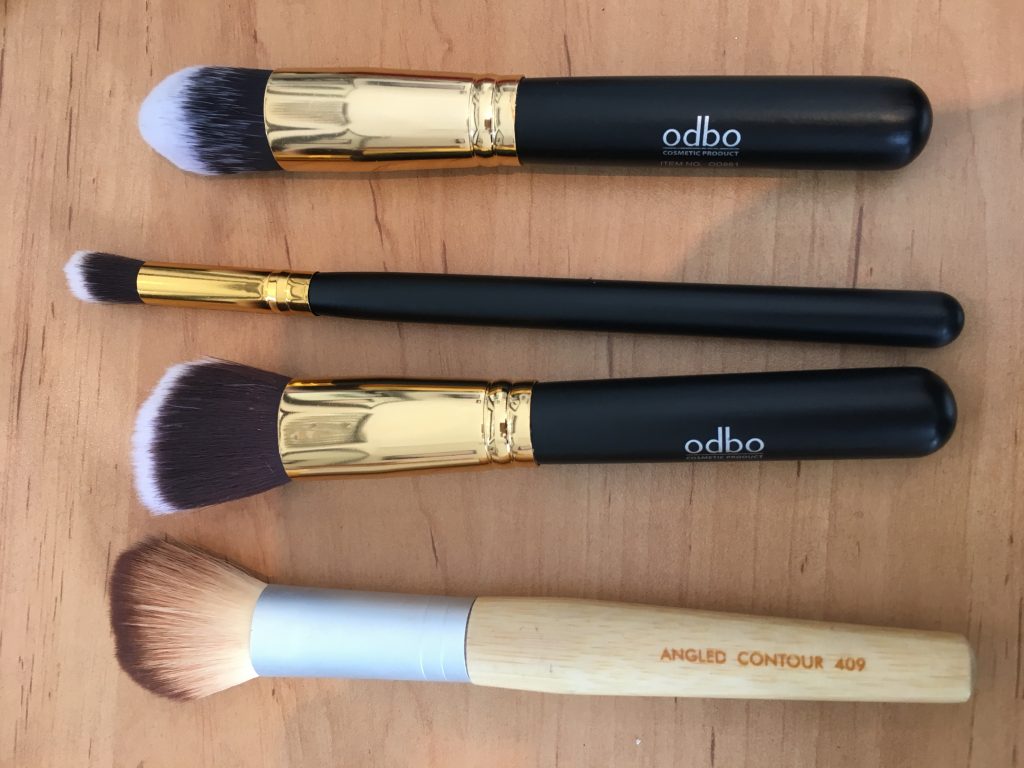
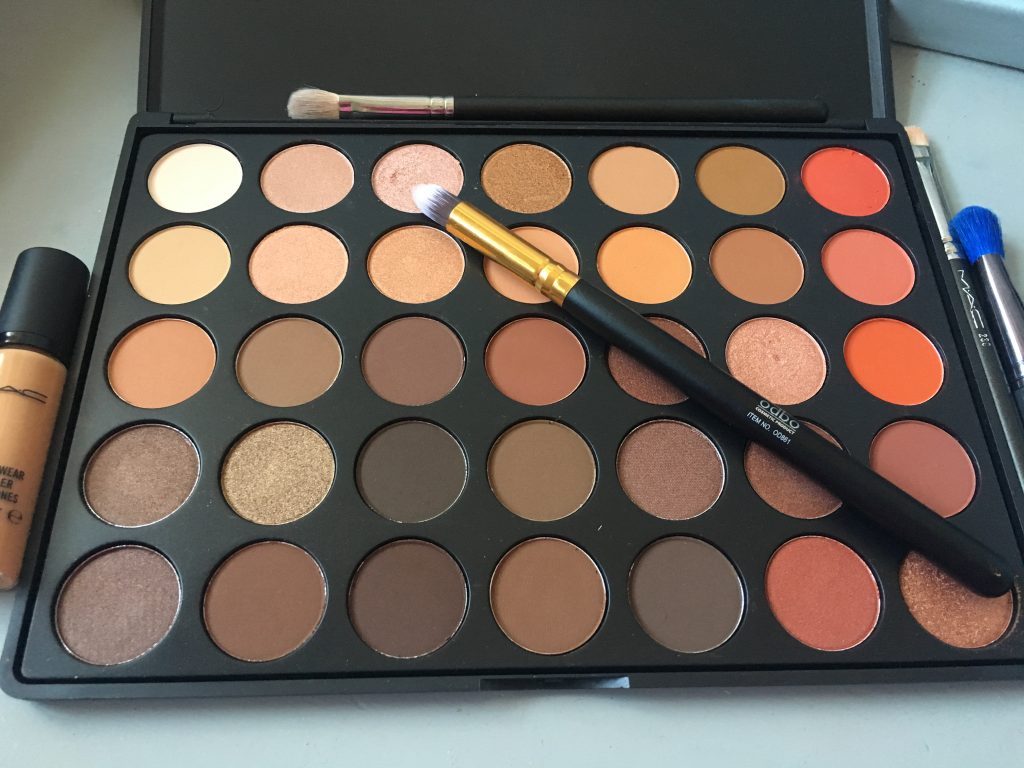
You are encouraged to bring your make-up along and use it while learning. We were given a set of Odbo cosmetic brushes, which was included in the price of the course. This 10 piece set is perfect for various beauty techniques such as contouring and for the basics.
As I am stickler for detail, I loved that Carla explained the method of application, why we were applying the makeup that way and the outcome we wanted to achieve.
The methods taught are current and personalised to your needs.
Don’t be afraid to experiment:
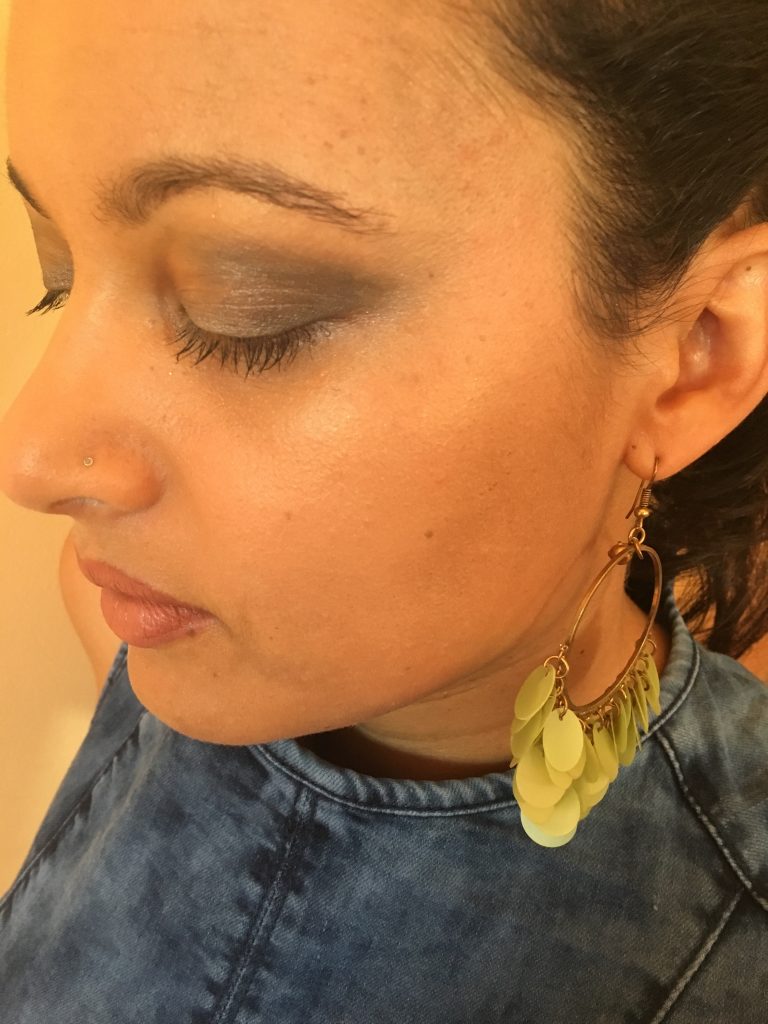
The flexibility of not having a strict course outline that we had to follow. I asked Carla to focus on certain looks more than others, as I wanted to experiment with colour. I opted to use brighter colours to create a smokey eye, instead of the darker look, which you can see below.
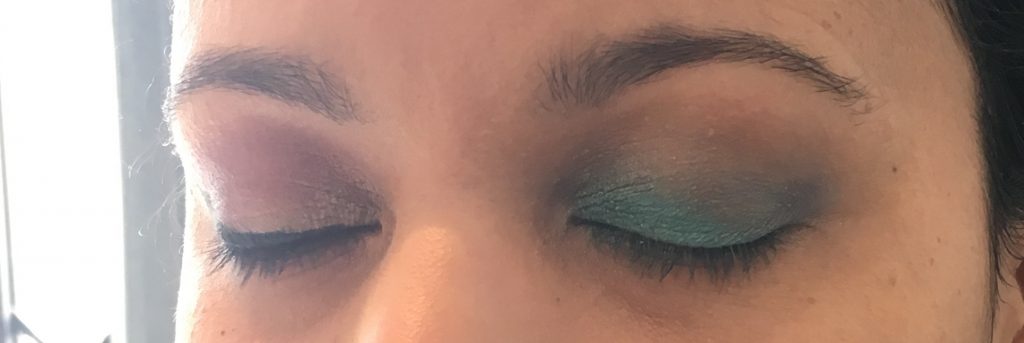
Carla applied makeup to one half of my face, and I practised on the other side, taking each application, step by step. By the time we finished the session, I created at least four looks. As I created different looks on either side of my face. The time went by so quickly, I almost forgot to have my light lunch, which was included in the course.
Armed with a list of essential makeup products I wanted to purchase, to spruce up my summer look, and a set of amazing makeup brushes, I am eager to start experimenting! Here are some of the looks I have been trying over the past month since doing the beauty short course.
What I took home from the course is to be bold and not be afraid to experiment. These looks I created in about 20 minutes.
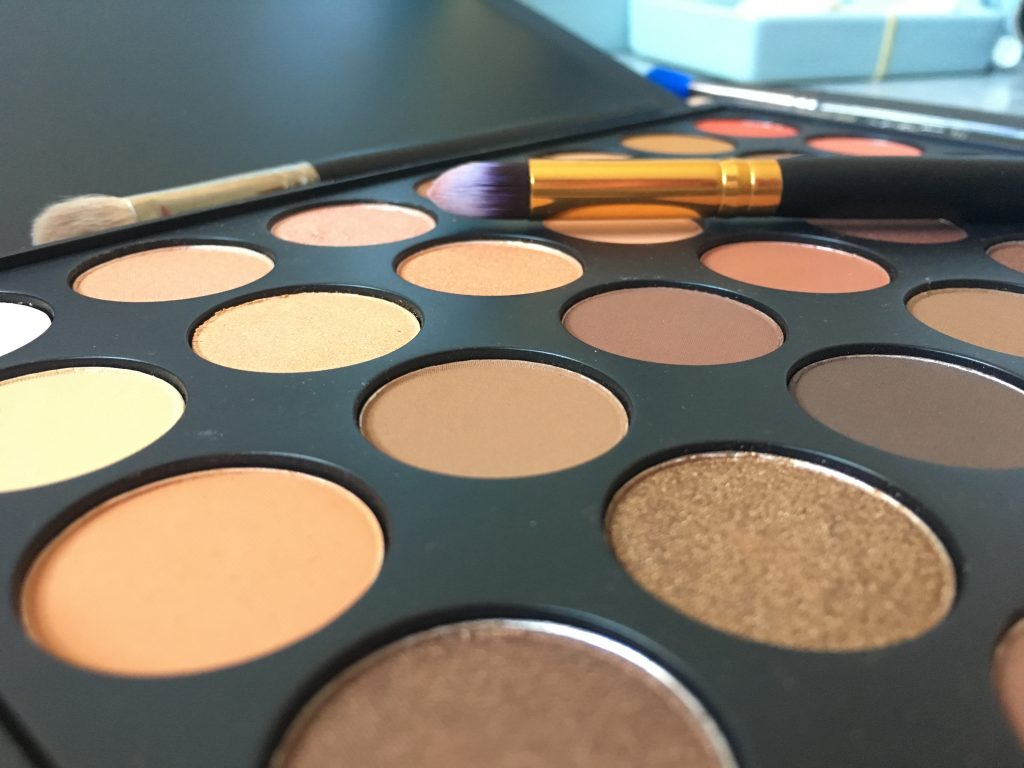
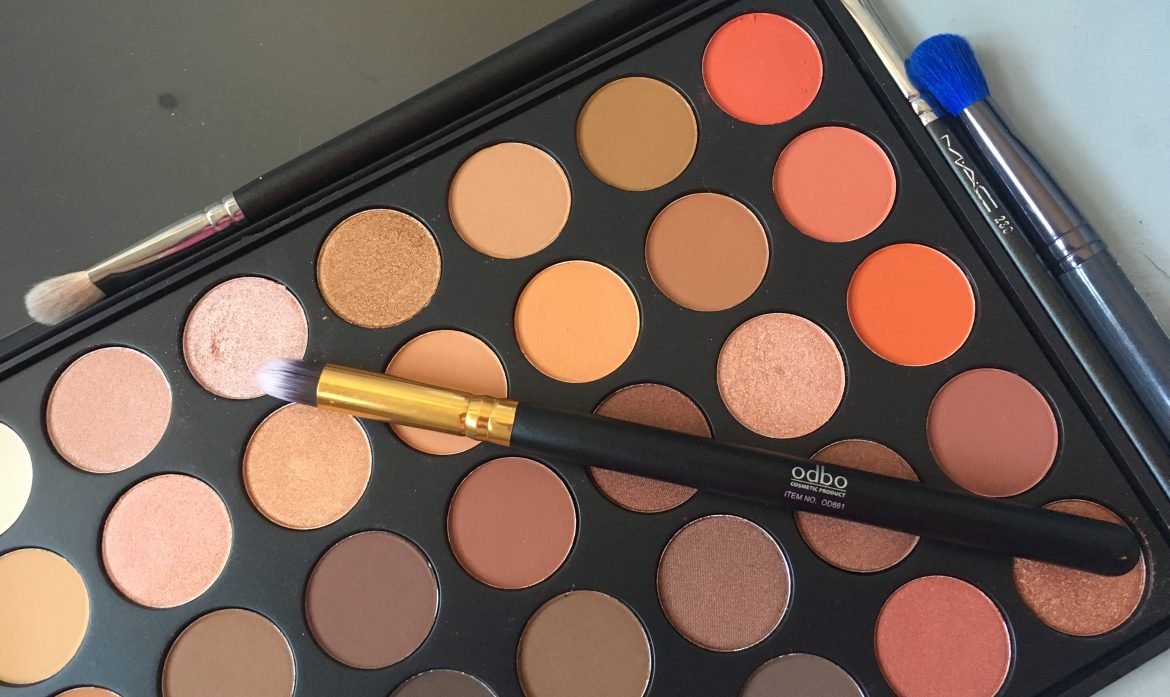
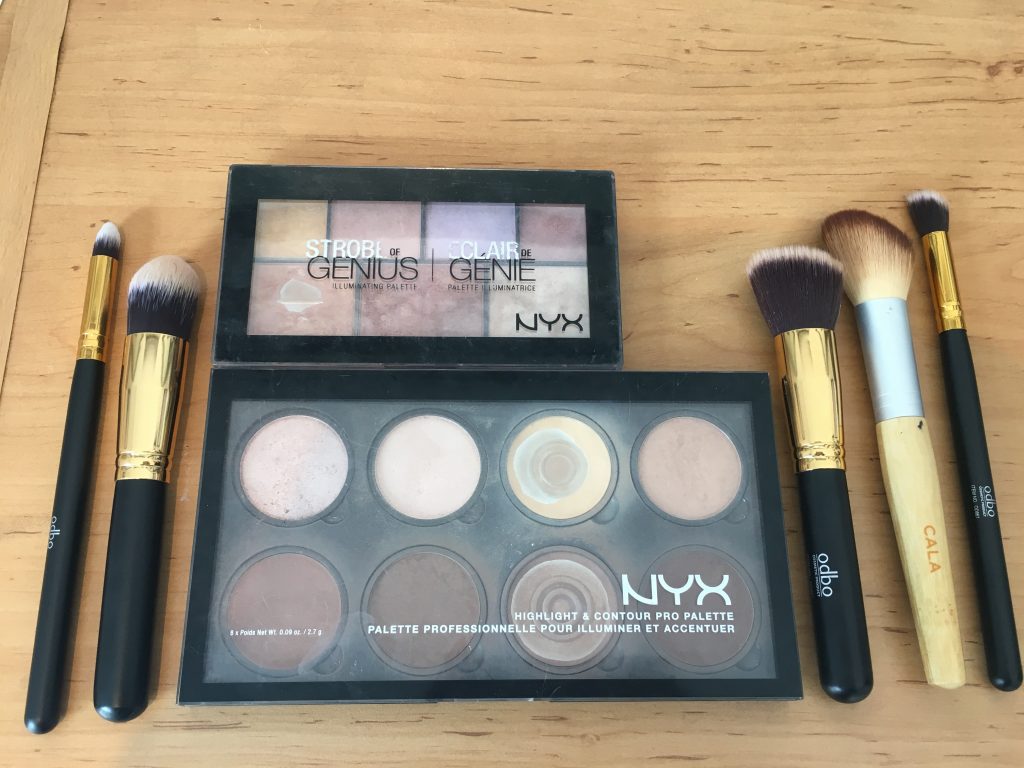
One of the recommendations for my makeup kit was to add some neutral eye colours. I love this #SlaysForDaysPalette that Carla recommended.
Practice, practice, practice:
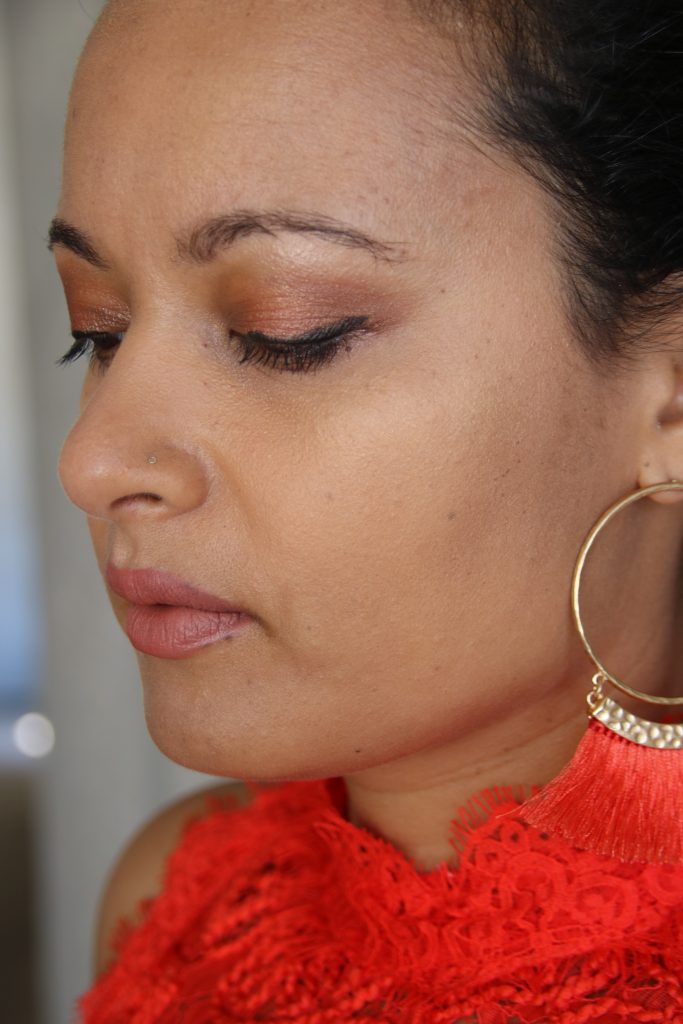
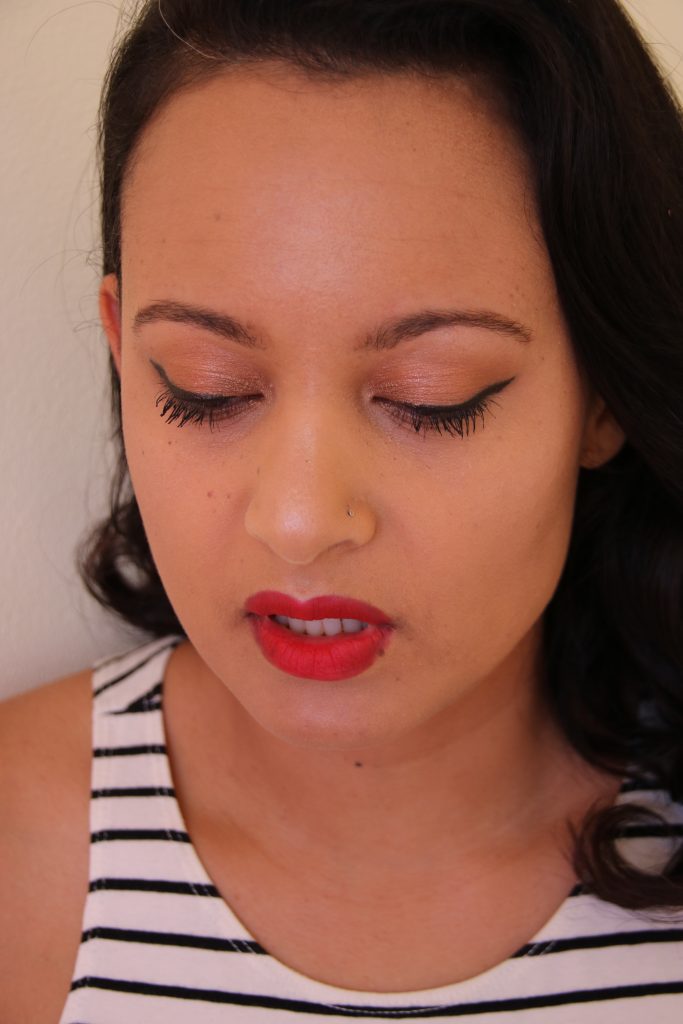
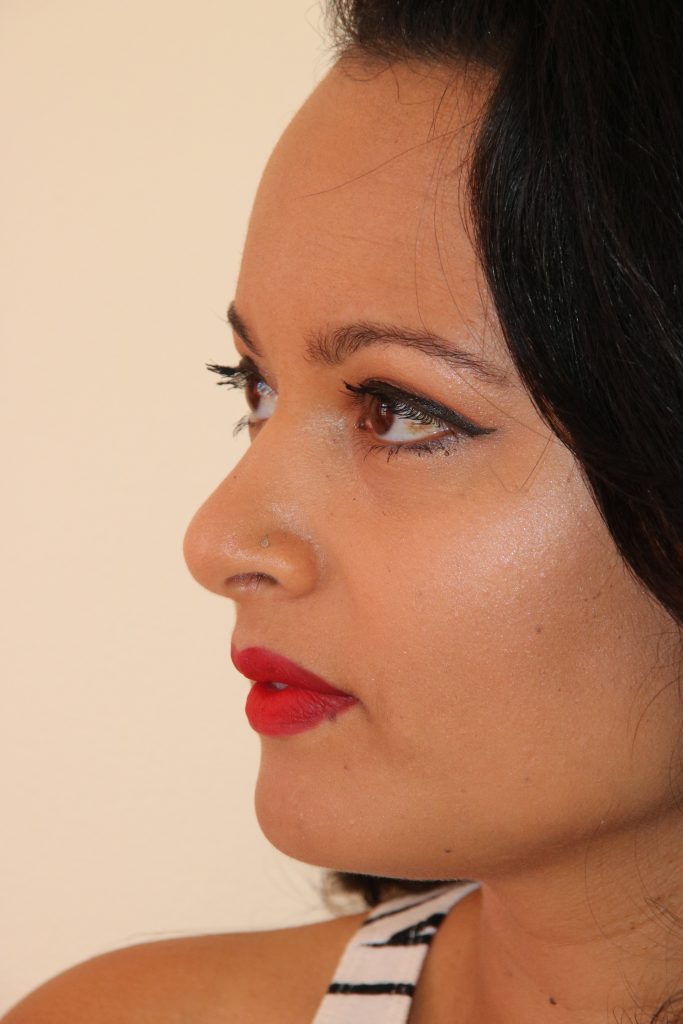
My first attempt at a classic look with winged eyeliner. This look took slightly longer, but I loved the result. Ruby Woo lipstick is going to be my Go-To lipstick this summer.
While I have not perfected the techniques yet, I am looking forward to applying my skills and creating different looks over the next few weeks! Now to master the art of applying eyeliner evenly on both eyes! I am definitely ready for this festive season.